Review Time: MAC Studio Sculpt Concealer and Fluidline Eye-liner Gel
So once my horrible nightmare ended (aka, I passed State Board) my mom took me to the Napa outlets as a treat. Now, I don't know if you know this but the outlets that frequent around California are designed to change stores or what they carry based on the demographic in the area. The one by Gilroy that I frequent has a Cosmetic Company Outlet, but it's normally not super great. At least, really it only carries a few cosmetic lines and usually all of the old promo/seasonal stuff which seems to go pretty quickly.
So when I went to the Napa store, I was pretty surprised. They had a ton of seasonal stuff from loads of different seasons and, actually, a ton of permanent stuff. In hindsight, I should have gotten more stuff, but I was too busy spending my money on new clothes (haul soon to come, don't worry).


So I ended up getting the Studio Sculpt Concealer and a fluidline in the color Dark Envy (a fluidline from the MAC me over collection).

Packaging:
Typical to MAC, both of these are in the twist top containers, making my life annoying as hell. I do like the fluidline in this container though, it doesn't bother me that gels come in a little tub. However, the concealer in a jar in annoying. It's really annoying. If I want to keep this all hygenic, I have to scoop some out every single time and work from a different surface.
Now I'm sure a lot of you would just stick your finger in the pot and I totally would too, and probably will later but a lot of the time, I take half of something I buy and put it in my Japonesque palette and then use the rest just for myself. It's a way to build up my kit without totally depriving myself of cool new stuff.
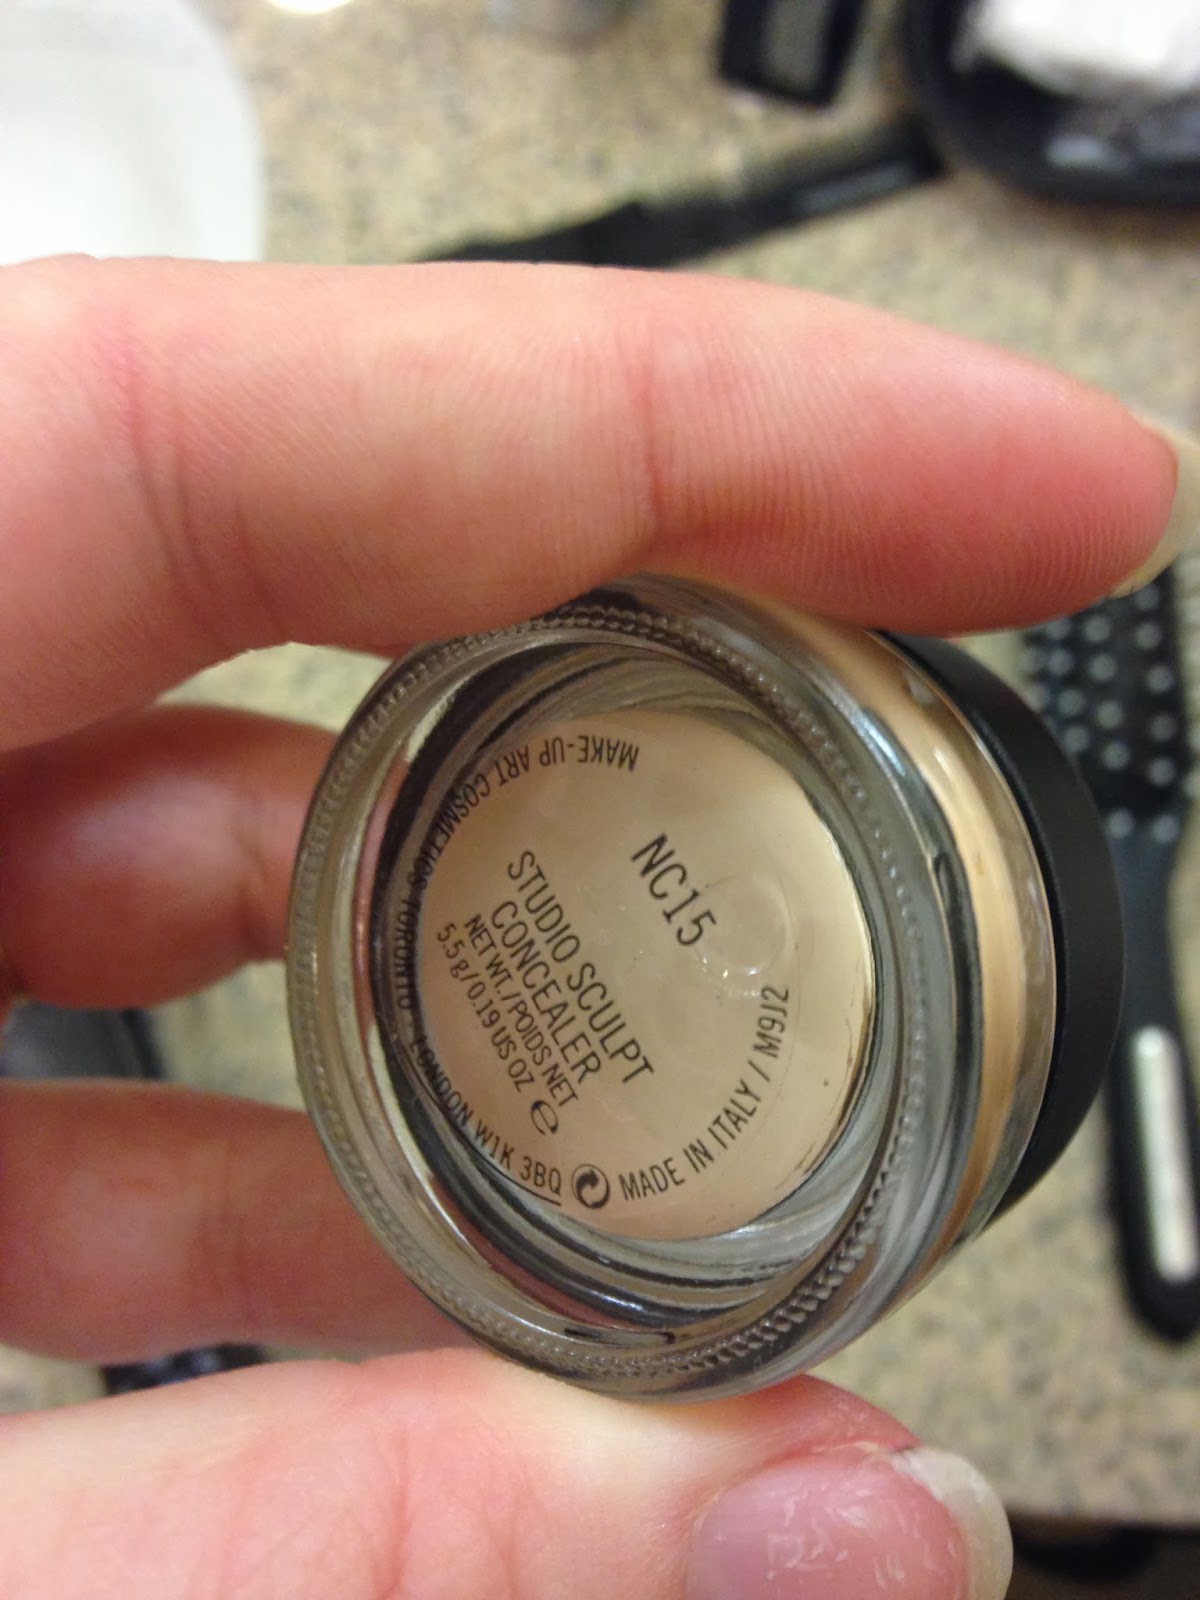
The concealer:


So as a reference, I'm an NC15 which I wouldn't say matches me as well as maybe my Kett stuff but it's pretty dang close.
So the consistency is strange, I will say that. It's quite creamy and a bit tacky and when it's applied to the skin it stays a tiny bit luminous.
So side note: I've been having horribly dry skin lately to the point where my whole face is flaky and annoying and driving me crazy despite the fact that pretty much nothing has changed in my routine. So when it comes to makeup, a lot of my dryer or mousse formulas are starting to look pretty bad- which is why I bought this concealer in the first place. It has the pigment and power of the MAC concealers but it's a lot creamier and doesn't attach itself to dry patches and make them look a million times worse.
Pros: luminous, pigmented, looks more like actual skin when applied, layers easily for more coverage, kind of sticky so my eye shadows stay put if I put a tiny layer on my lids, and SUPER great for dry skin.
Cons: MUST set this with a powder of some kind, especially if you use it under the eyes, and you'll probably have to do 2 thin layers over really dark spots or hormonal acne like mine. Also, this is not very oily skin friendly.
A cool trick:
So I loved the fact that the concealer was a bit luminous and wasn't too clingy (like a good boyfriend) and I had recently found my MAC Fix+ spray and I was like... hey, someone told me once that you could thin out cream foundations with it to make something more sheer and I was like...
"Imma do that."
So I did when I got home and the results were pretty good actually. I mean, am I a flawless woodland elf creature, no- but I look pretty dang good for the amount of stress and hormone acne I've acquired. (CUTE, RIGHT?!)


How to do it:
Scoop out some concealer (or foundation or whatever you're using that's too thick) onto a tray or something you can mix on. (Plastic artists trays are great for this, or you can splurge on the good stuff
like this: http://www.musebeauty.pro/esum-pro-palette-and-spatula.aspx )
Spray your Fix+ onto the concealer and start mixing with your spatula or brush or sponge.
I used my beauty blender, which you can also find on Muse Beauty Pro's page:
http://www.musebeauty.pro/beauty-blender-2-pack.aspx
I think Sephora sells them in a single pack for like 20 bucks, so I would just say pay the extra 10 and have 2)
Once it's mixed, it'll look a bit thinner and then you can start directly applying it to your skin. Depending on how much liquid you used will dictate how sheer your product is. You can always mix in more liquid or more concealer to make the look you like.
Keep in mind though, this concealer in particular is creamy and dewy, so if you want something more matte I would try a different product or just set the whole thing with powder.
The picture above, FYI, is something close to a light-medium coverage and then I followed up with the concealer straight up for spots and under the eye.
This is a trick I love if you're traveling somewhere and you don't have room for all your makeup stuff- or if you're getting on a plane you could take this, a travel size Fix+ and a sponge and you won't get in trouble.
The liner:
This is not my first gel liner I've ever had, but it is my first fluid line and I will say- this is pretty nice.
The color itself is very pretty when swatched. It's kind of a forest green without all the bells and whistles. There's no glitter or metallic frost, it's just a cool way to use a liner like a black one without actually using black. (A great idea for people who are scared to try new colors.
Sheered out the color is more true to form in the pot but once you apply to the eye, it ends up looking sort of black from far away. (Up close, you can tell what's up.)
Pros: Applies like a gel- creamy and easy, it's easy to remove but it doesn't smudge all day, works with pretty much every liner brush I've tried so far.
Cons: One layer is so sheer it looks like my swatch so to make it nice and deep you have to do a couple layers.


A cool trick:
A lot of people online say that the fluidlines are prone to drying out quickly for some reason.
Make sure you close the lid all the way down when you're done and store the whole container upside down. Sometimes the moisure will settle to the bottom and dry out the top, so continuously having it upside down will keep it towards the top and the bottom is protected from it's own packaging.
Also, try stirring it with a spatula, if it's still dry, add a little bit of eye drops to bring it back to life.
Hope you guys enjoyed this, I forgot how fun reviews are.
-SamanthaK
No comments:
Post a Comment