Tuesday, May 27, 2014

Review Time: OPI Neons Collection

Review Time: OPI Neons Collection


OPI does arguably the best polishes around. Between the wide brush (where you can actually paint a nail in 3 strokes) and the opaque quality of the polishes, and the true to tone color (IE it paints the color that's in the bottle)- it makes it one of the top dogs in the industry.

So when the Neon collection came back, I was like, "Yuuussssss."

I ended up only getting 3 colors, but I probably would have gotten more. (I'm saving my money for the OPI/Coca Cola Collection coming this summer, which I'm pumped for.)

But the thing I noticed about this collection was that the colors aren't actually what I would consider "neon". They were very BRIGHT, but they don't seem very neon.

So on the left, the colors I got (R to L): Push and Purr-pull, Down to the Core-al, and You Are so Outa Lime!

Push and Purr-pull is a very creamy purple, which borders on the pinkier side of things as opposed to very blue based.

Down to the Core-al is a color that rides right in between red and orange. It's kind of the darker cousin to a traditional coral color- which I personally kind of think looks more grown up.

You Are so Outa Lime! is definitely a straight up mint green. It does lean towards the blue-mints as opposed to yellowy-mint.

All of the colors are very opaque and super creamy- but the one thing I noticed that was super weird was that all the colors dry pretty matte.

All the research I've looked through and even looking at the OPI descriptions- none of these are described as matte. I think maybe they dry that way BECAUSE they're neons, but I genuinely have no idea.

In the swatches below I took the pictures in a pretty heavy yellow light (annoying- BUT I'm at Shaver Lake and that's just whats around so deal with it.) and they are topped with a CND thick top coat. (So shiny shiny.)

Displaying image.jpegDisplaying image.jpeg

And then of course, I did some 80's nail art with the colors and then used a thick glitter striper polish to make lines. I LIKE IT, SO SUE ME.


I do like the way these look, especially the mint and coral colors. (Not a fan of purple, but I bought it for a client who's school colors are gold and purple.)

These polishes retail for around $8.50 a bottle- but I know they're doing a pack of mini polishes with 6 colors from the collection for $20 at Ulta- which include the 3 colors I show above- which I love. I get tired of colors pretty quickly so the mini polishes are great for me so I don't end up as a giant hoarder.

All in all, I think these are really cool. If you're a fan of brights that aren't stupid and are actually pretty grown up looking- these will probably be a good fit for you.

Happy polishing,

-SamanthaK

Thursday, May 22, 2014

Review Time: Hot Designs Nail Art Pens

Review Time: Hot Designs Nail Art Pens

I wish, more than anything to be good at nail art.

And I've been practicing a bit with traditional brushes, dotting tools, and the polishes with the tiny tiny brushes built in.

We all know how well that went:


I mean, come on, those are adorable and we all know it.


 So when I saw the nail art pens- I was super interested. Look at the pictures! Poka-dots at the drop of a hat, cool lettering, and stripes that are done with ease- I was all over it.


 So these pen sets retail at places like Bed Bath and Beyond or Walgreens for just under $15.00. 
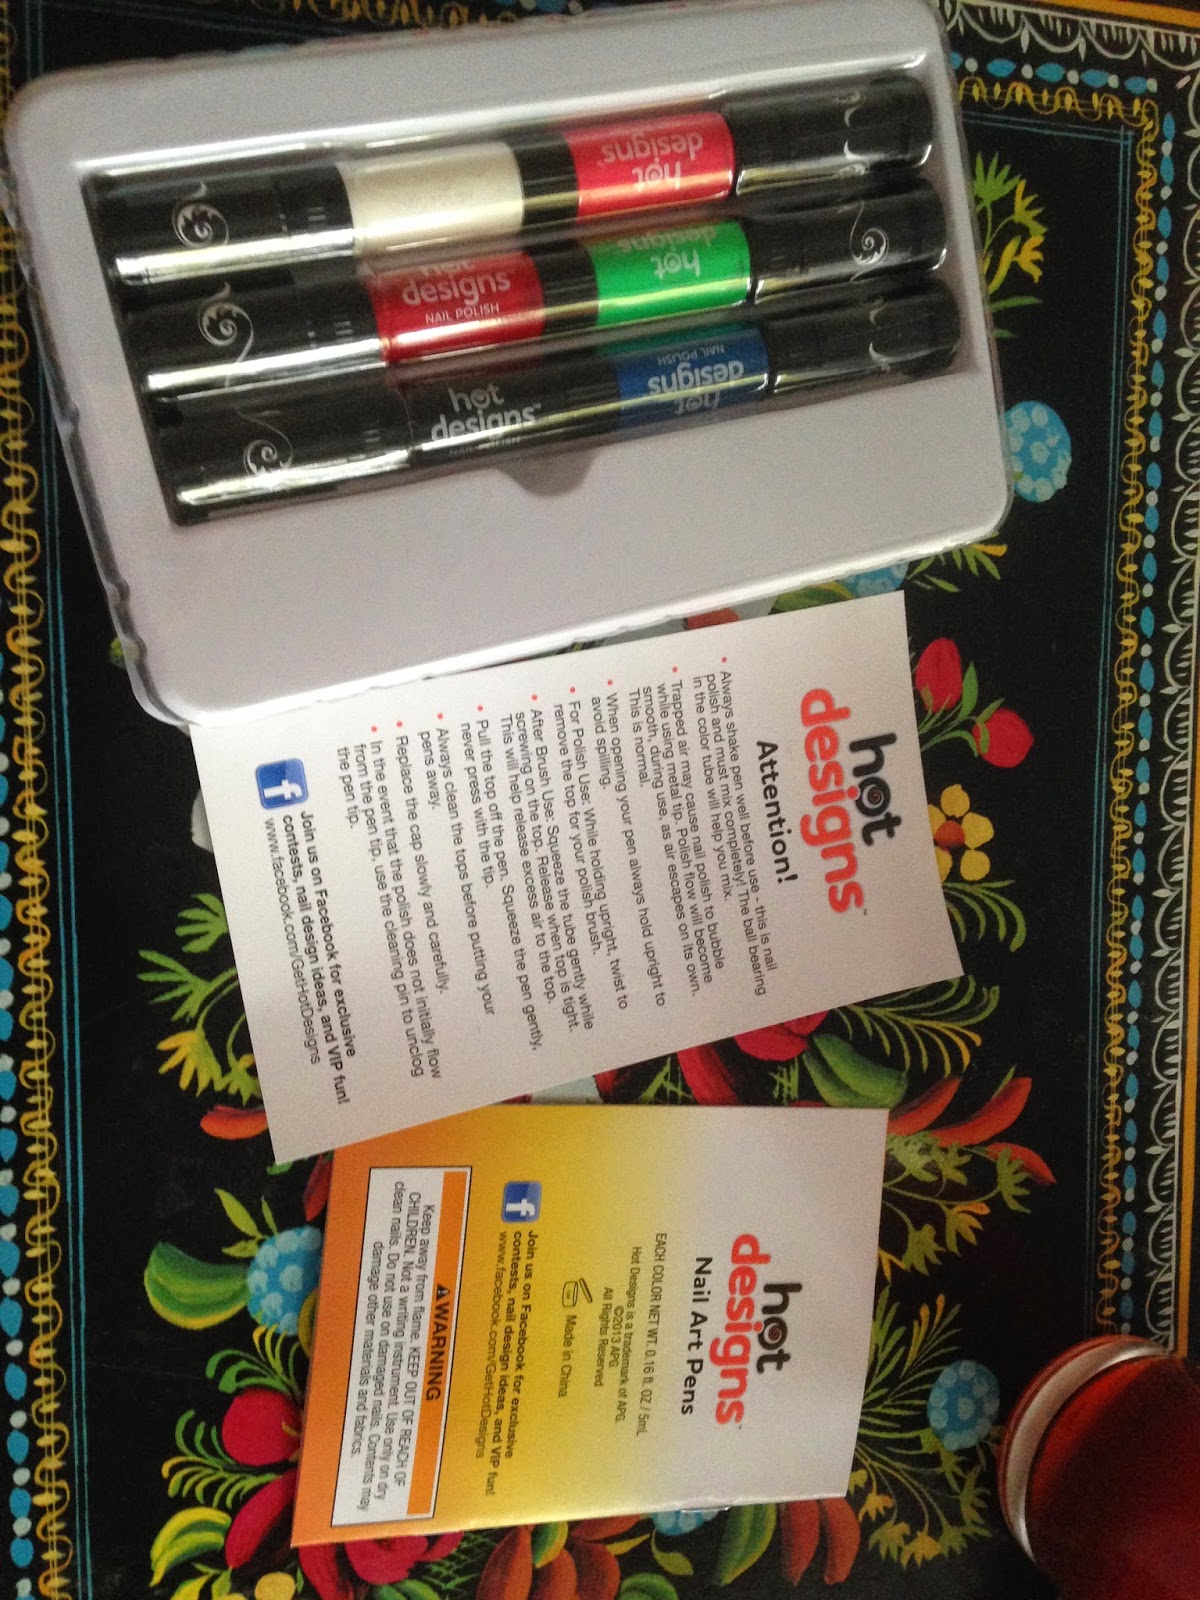
They come with 6 colors built into 3 pens. This particular set was more of the basic colors- white, black, red, pink, green, and blue, which I thought might be more beneficial to me.

And inside each pack is a booklet sort of explaining how these work and then they have step by step ideas on how to make different nail art.


 So the way these work is you can either uncap just the top, revealing a tiny metal pen tip OR you can unscrew the whole thing and use the polish just as traditional polish.

The polish brush is pretty nice, to be fair. It's a bit wide so it's more like an OPI brush, but the bristles are longer which sort of makes it a bit more squirrelly to handle.

The pen is super fine, which is nice too but the product LOVES to build up around it, so you constantly have to clean these off- especially before putting them away. 


The actual line work on the pens is pretty tiny, but the consistency is SUCH a problem. Basically there are air bubbles that build up and when you squeeze the tube to push paint through the pen tip, it causes gaps in your art work or actual bubbles to come out (which pop at come point an splatter).

You can kinda see where the M was having air bubbles.

And oh my God, don't even get me started on the whole squeeze while you draw thing. I can't even get it together. I suck at doing that, and I wish it was because it's like a user error thing, but it isn't. The part where you're supposed to squeeze is up by your knuckles, so it makes this annoyingly difficult.


The polish itself started out ok but once you've opened the pens or the polishes up a couple times it gets HARDCORE goopy and thick. To be fair, these are supposed to be quick drying, but the answer is simple- DON'T MAKE IT USABLE AS A POLISH. 

There's just no point! Every time I open the container, it's drying it out. 

I just wish these were more consistent with accuracy instead of causing gaps in the art, or worse off (as you see in the above picture) it does these "burps" where suddenly a glob of polish comes out- OR BETTER YET, when the polish comes out with an actual bubble and when you pop it it makes a mess.

 Making a straight line with these is so much more complicated than if I had just used a stripe-r polish or had just busted out an actual paint brush.

I wanted to like these, I really did. The idea was right and the price was right, but geez- these were just pretty terrible.

As a consumer user, I just didn't get it and really, using my left hand to draw on my right was another huge issue. Drawing lefty isn't too difficult if it's just easy stuff like stripes or dots, but when you add the squeeze element into it- it's bad. I ended up having Roger do my right hand once to see if it was just me being a spaz and even he said the same thing, "It's easy enough but squeezing the tube is annoying... why is this so goopy?"

(Side note: Rod used to paint his nails in high school when that was a cool 90's thing to do. So, he's a pretty good judge on nail polish).

And as a professional user- this makes your life way more difficult than it needs to be. I would just rather use my brushes.

All in all, if you're really into nail art, or you do it for a living- I would just splurge on brushes and dotting tools. There's plenty of places that sell them- you can find especially good deals through amazon, or if you're a pro, Cosmoprof and Salon Centric have plenty to choose from.


Hopefully soon, there will be a nail pen that suits my needs,

-SamanthaK

100 Degree Hottie: Puff and Twist Bun

100 Degree Hottie: Puff and Twist Bun


I can't even tell you how easy this hairstyle is.

Difficulty: EASY AS HELL
Ideal for: Anyone with long hair or anyone who's exceptionally lazy
Perfect for: the beach, the gym, shopping, laying around, whatever!


Step one:

Take your bangs, or if you have no bangs- take the chunk in the front where a mohawk would start.
Twist said bangs away from your forehead but then push them towards the forehead by half an inch and stick a couple bobby pins in there. It creates a little puff that's flattering and doesn't look like you glued hair to your head.

Step two:

Do the exact same thing on the sides. Ideally twist the sections going up towards the top of your head. 
a) It's more flattering
b) It'll stay well and keep flyaways at bay.

Step three:

Ponytail. Ponytail everything.

Step four:

If you have long hair- Tease the pony (if your hair is fine/limp/etc) and split into 2. Twist both sections going towards the right (clockwise), then wrap them AROUND each other going to the left (counter clockwise).

Ta da, you did a rope braid. 

Now wind the rope braid up into a bun and pin into place.

Ta da, you did a messy bun with little to no effort and you probably had to adjust or fix NOTHING.


If you have shorter hair- Follow my tutorial on the messy bun in the previous posts (the one where you use bobby pins to flip the hair.)


Step five: 

Use hairspray or whatever you prefer to keep the flyaways down. I actually like it when it's loose, but you play it how you want to.


How easy was that?

-SamanthaK

Saturday, May 17, 2014

100 Degree Hottie: Fake Bake Airbrush Self Tanning Spray

100 Degree Hottie: Fake Bake Airbrush Self Tanning Spray

So let's have a discussion about my skin for a moment.

We all know how I look normally.


I know. You're like, "Oh damn, who's the stunner?"

In addition to being horrifically pale, I have dry and easily irritated skin. So, any time I do anything remotely related to skin care- it's kind of an annoyance. BUT, I love being tan. I do. I love the time of the year when I can get color and the veins in my legs go into hiding and I can finally look nice. 

BUT.... skin cancer is like the #1 threat in my family. It has taken an aunt's life, it has chewed up my dad's ears, and it has generally caused everyone in our family to resort to ugly hats and 8 pounds of sunscreen.
Needless to say, as much as I love being tan- I love my health more.

So I'm a big fan of "fake baking". Sunless tanners have really changed the game for people in the years it's been around. You can officially avoid the disgusting, contaminated tanning beds. You can officially never worry about Melanoma.

It's kind of the best thing since sliced bread.

One of my favorites in particular is the Fake Bake Airbrush Self Tanning Spray.
Trust me, I love the lotions too, but when you use this a couple times- it makes your life so much easier.


It comes in an aerosol can with a spray nozzle that works in any direction. The mitt (laying down in the front) doesn't come with it but trust me- it's worth it. (If not the mitt, than invest in a box of latex/whatever gloves. I'll get to the why in a minute).

Now the spray you can use directly on your face, but as I am acne prone, I opted for the Fake Bake Platinum Face tanning lotion that has a cell renewal system and is formulated for aging skin. Now, I'm not an old leather handbag by any means- but it's nice to have around as a preventative measure.

The aerosol spray retails for $32.00
The Platinum Face lotion is $30.00
And the mitt is anywhere under $20.00 but usually is included with the lotions or sprays.

And I know you're like, "Are you kidding me? You spent $60-80 on tanning stuff?"

And the answer is, "Omg, hell no. I went to my Cosmoprof and bought everything for like 1/3 of the price."

And honestly, I've found Fake Bake on amazon for a lot less as well, as much as I love the product- $60 is a lot to ask.


SO HERE'S WHAT I DID:

First, get in the shower and really scrub up. Remove as much dead skin as you can with some kind of sugar or salt scrub. Fake Bake makes a "body polish" but honestly the drugstore has equally fine stuff or you can make your own with a mix of honey and sugar.

Then, do anything else you need to do that scrubs at the skin- like shaving, waxing, whatever it is you do to yourself.

Now, you can probably skip this if you're a normal human being, but my skin is so horrendously dry that I apply a layer of lotion on and give it an hour or so to sink in. Cetaphil in the squeeze tube (not the jar) works fine, or really anything that's on the lighter side. If you use something thick- your tan will come out weird. Trust me.

Next, apply the tan. I find the best way is to go section by section and stop to use the mitt or your gloved hand to rub in any sections that look streaky or where you got a weird spot or something. I usually do it like, hip to knee, then knee to foot, then chest, then upper arms, then lowers- etc.

This video really helped:


It's actually a video FROM Fake Bake, so it's very helpful.


As a side note- it's incredibly difficult to spray your own back- you will definitely need a friend, mom, boyfriend, whatever to help. Rod's been really helpful about it and even he said, "This isn't too difficult."


So now that your tan is on and rubbed in- leave it alone for 4-6 hours.

I usually throw on a sleep shirt or something and just bop around the house or do chores or something. If you can avoid wearing anything tight, do it.

Then I apply the face lotion- which works similarly in that it needs a couple hours to develop- OR you can mix it with your makeup and just let it hang out. Pretty cool stuff.

After 4-6 hours, jump in the shower and JUST RINSE. No soap, no whatevers. Just rinse til the water runs clear and gently towel blot your body.

You should have a very good looking tan.


SO HERE'S MY THOUGHTS ON THE PRODUCT ITSELF:

The spray tan is pretty great. When you spray it on, it already has a color in it to act as a guide so you don't accidentally go crazy or miss a spot, or make a stripe- SUPER HELPFUL. And once you wash that layer off after 4-6 hours, I don't have to worry about my tan getting on my clothes or sheets or anything like that.

I will say this, wherever you rub you skin the most- the tan will come off faster- so inner thighs, inner arms, stuff like that. The tan allegedly is supposed to last for like a week. Fake Bake says it'll last "for days". Honestly, I think I get a good solid 3 or 4 days out of it because my skin holds onto nicely. And to be fair, I exfoliate my body ever 3 or 4 days ANYWAY. So to me I don't mind just reapplying that often. 

The color itself is pretty fair. If you're like me and crazy white, you will notice a BIG difference, but if you're tan or prone to tanning, you'll probably hate it. You can definitely do a couple coats and build up a nice color, but if you want something darker, you might have to go for the Fake Bake 60 minute tan, or the "darker" versions. But for me, this is nice. It's a believable color, it covered my veins, spots, etc and it never got to the point where anyone was like, "You...look like a body builder, you're so orange."

And the spray tan is HARDCORE messy. Like, don't spray it near anything you love. It'll get all over counter tops, the floor, etc. I spray it while standing in the shower and then when I step out, I turn on the water and immediately rinse it off the tile.


The Platinum Face with cell renewal is such a love hate thing for me. While I love the color and I LOVE how plump and nice it makes my skin look- I HATE the smell. Oh my God, I hate it. It smells like vinegar. Straight up. It is nasty. But I'm willing to overlook it because my skin has never looked nicer. It hides a lot of discoloration and really gives my skin a plump, hydrated feel. I've actually noticed my skin going from dry to even, dare I say, greasy?! I love it. All I have to do is some concealer and powder and I'm good to go.

If you can deal with smelling like an easter egg for a minute, you'll love it. (The smell goes away once it's rubbed in, but it's kind of horrifying.

And then, just to keep my tan up in between showers, I spray a couple seconds worth into my hand with lotion and then apply it to give my color a little boost. 


To me is it worth it? Yes. Will I keep tanning? Yes.

But only because, as my friend Michelle says, "Tan fat looks better than pasty white fat."

AND I AGREE,

SamanthaK


Saturday, May 10, 2014

100 Degree Hottie: Pumped Up Pony

100 Degree Hottie: Pumped Up Pony


Today's hairstyle, featured on my cousin Katey's head.
Excuse her roots- she's a busy, independent woman and she ain't go NO time for lightener. 

The breakdown:
-Incredibly easy style.
-Takes about 5 minutes if you opt to do braids.
-Messier=better
-Switch out the braids for a slicked back pony for something more "professional"

OK HERE WE GO:

Step 1: Add your products. I used dry shampoo and a tiny bit of sculpting foam on dry hair (YEAH FOAM ON DRY HAIR, I WENT THERE.)

Step 2: Pull your bangs back. I used a rubber band at first, then switched to pins. It doesn't matter which way you do it honestly. You don't even need to pin your bangs if they're long enough to get to the pony.

Step 3: Throw some braids in there. I don't care where you put them- that's for you to decide. I did mine on the sides.

Step 4: Put the whole damn thing in a pony.

Step 5: Ever see those ponies that look so damn high they make Barbie jealous? Here's the trick-
Cut your pony in half.
With a hairpin or bobby pin, stick the pin in at an upward angle, then once it's touching the scalp, flip it and push the bobby pin downward. It grabs a little hair from the top and forces the pony to stand up higher.
YOU'RE WELCOME.

Step 6: Curl the pony, straighten the pony, braid the pony, tease the pony- I don't care, do as you wish!

I will say with this style, the messier the better. I don't know why.

-SamanthaK

Thursday, May 8, 2014

Haul-o-Rama: makeup, shower stuff, jellybeans, whatever.

Haul-o-Rama

Ummm, I'm not even gonna lie, I got my tax return and I took the opportunity to buy some new stuff.

Hey, I paid my bills and paid off a chunk of my car too, so I did SOME responsible things.


So immediately I ran to Cosmoprof because I needed new brushes to replace some that have started to fall apart and when I saw that the entire store was "vintage" stuff- I was beyond excited. Last year they did a vintage theme with a handful of companies but the colors they picked were red and mint- which I thought was kind of strange, and then the bristle colors were like a weird tan color... I don't know, I was just kind of miffed with the whole thing but this year they nailed it. Almost all the companies at Cosmoprof are a part of it this time around and the colors they all picked were mint, cream and pink. The other flat iron option was pink with poka dots. The whole thing is amazing. Not pictured is another mint brush, some pink, white and mint clips, and some more nail wheels for nail art examples.


And then I rounded the corner and realized Cosmoprof sold Fake Bake, and like, the entire line of it. I've been wanting to try fake/spray tans for awhile and I figured this would be a nice way to experiment with the brand and see what the color would actually look like on me. Cosmoprof is really great about pricing things so that licensed pros can actually afford to try stuff out and Fake Bake has like 5 different delivery methods on their products. I opted for the aerosol can style because I felt like the liquid version would give me too many opportunities for mistakes. I also got the one specifically made for the face (the anti-aging one because, whatever, why not) and the mitt that exfoliates AND can be used to buff in the tan.

I went crazy at Cosmo.


And you may have noticed this picture on my instagram. I've been trying to get back into drugstore products so that I can finally clean out my makeup drawer a little. (It's getting crazy in there.)


So what did I buy, you ask?

I grabbed the ELF high definition powder (allegedly a dupe for the Makeup Forever HD powder?), Jackie Oats (a VERY subtle skin pigment from LUSH), the Sonia Kashuk bronzing cream (a dupe for Chanel's Tan de Soliel) and lastly the Power Volume 24 hour mascara (on recommendation from Kaylene).

Oh and I'm trying out the Neutrogena lip balms (which are the same as the Clinique chubby sticks and the Revlon lip balms). I grabbed a Maybelline Color Elixir Liquid Color Balm too, and I love it so much it's in my purse and it will never leave that spot.


Then at Ulta, I found the Body Shop bath stuff and got a shower gel and body butter in Vineyard Peach. Sweet Jesus, you guys. It smells exactly like those sugar peach rings. I can't get over the smell, I love it so much. Even Roger noticed the smell and started getting obsessed with it.


Then I grabbed the new beauty sponge from Real Techniques. I had heard it was on par or better than the Beauty Blender sponge and I have to say, I do like it better. The flat bottom makes it easy to hold onto and I kind of like that it's a little firmer than the Beauty Blender. And side note, it doesn't absorb liquid product nearly as much as my BB, which makes my life a lot easier.

Plus you know, the Real Techniques version is $6 and you can use an Ulta coupon on top of that.


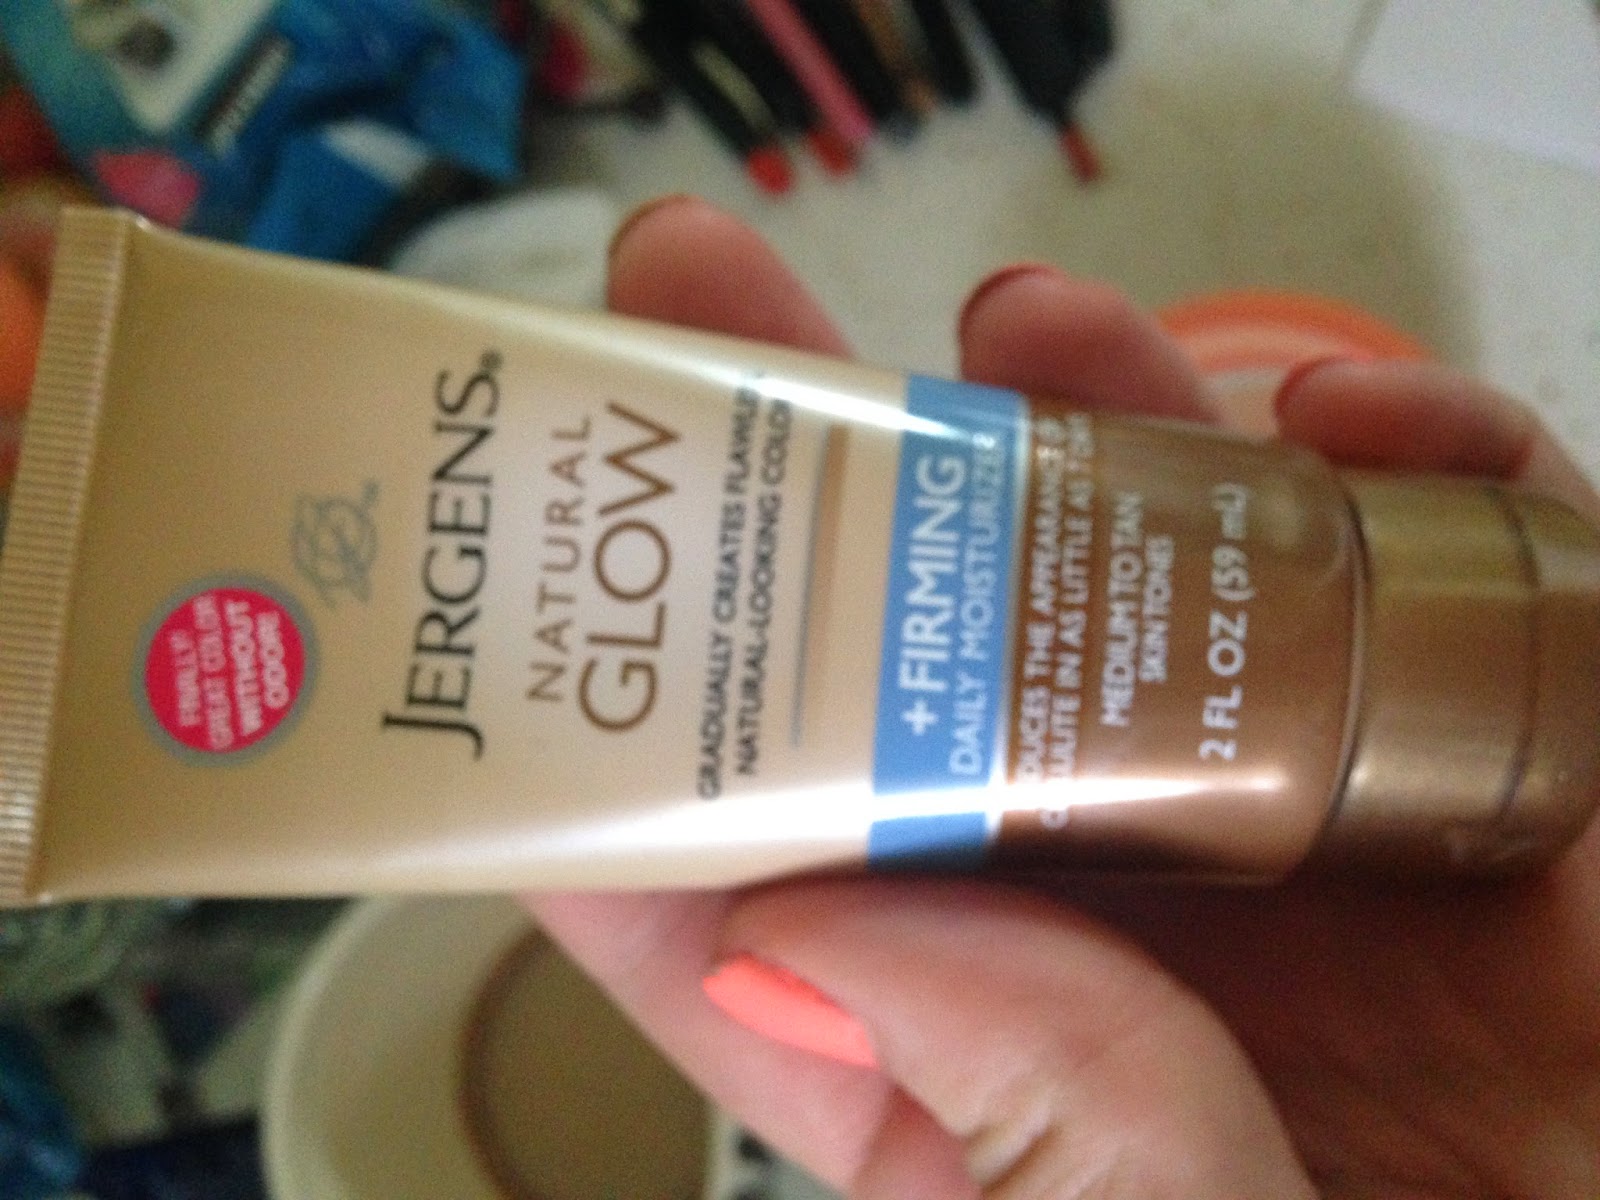
Then I decided to go for a mini-bottle of the Jergens Natural Glow +Firming lotion. I opted for the medium to tan look to give myself some real staying power- but I find when I mix this in with lotion, or use my Fake Bake sprayed into lotion, it kind of brings my tan back to life- which is really nice.


I'm like, a huge fan of Lavanila products, especially the deodorant because my underarms in particular can get irritated really easily. I've been using their deodorants for about a year or so, and I can't say enough nice things. But when I went to buy my normal Blackberry "flavor" or scent, they aren't making it anymore, which is so incredibly disappointing because it layered up so nicely with my perfume. So after smelling around a few scents, I opted for their new Vanilla Summer smell. Honestly, the perfume version of this scent is heavenly, but the deodorant smells like the same stuff you'd buy from the drugstore- which sucks because one of the reasons I really love these in particular is the fact that they smell almost sophisticated in a way. Like, I'm paying $14 dollars for this, it better smell different. I'll probably end up going to the Pure Vanilla smell, or maybe lemon. WE'LL SEE.


I'm a crazy fan of Sam Edelman shoes, despite the fact that I only have 2 pairs. I could never afford to stock my closet with them just because they're expensive, but I found these pair at a Marshall's in my home town for like $20 bucks and I was so pumped. I had seem them at another store and they didn't have my size and I basically pouted for weeks. So when I finally saw the size 10, PLUS the additional price drop- I was ecstatic. I just love that they aren't just leopard print, but they have the zebra strap too, which kind of makes them unexpected. (My other Sam Edelmans, I found at Nordstrom Rack and they are leopard print loafers with studs...because I'm that guy.)


And lastly, I picked up a long necklace with these cool leather tassels at a Stella Laguna Beach shop. I don't know if other places have this store, I feel like they're an offshoot of Apricot Lane or something like that and maybe it's just regional, but I don't know. It has been a big time staple in my wardrobe lately though.


Hopefully, I can ease my shopping habits for awhile, but I know I'll go crazy for those new MAC collections.

Forever broke, 
-SamanthaK

100 Degree Hottie: Braids and Buns

100 Degree Hottie: Braids and Buns

So I'm a hardcore fan of buns. High buns, low buns, messy buns, big buns, braided buns... all the buns.

So I really wanted to show you how to do a messy bun for hair that's at a medium length because I think a lot of people get hung up thinking you have to have a long and enormous ponytail to pull it off. I'm here to tell you, that's not even close to being true.

So here's how I do it, and just to make it fancy, I added a braid.

Hairstyle breakdown:
-This is for any length of hair, ideally medium to long.
-With the braid, this hairstyle is actually semi-difficult without the braid it's insanely easy.
-Great for people who want their hair out of their face, are laying out by the pool, etc. HOWEVER, it's not super great for swimming.


So starting with clean hair, I added a little dry shampoo for some "oomph" and then pinned my bangs away from my face. You can skip this if you don't have bangs, or keep it if you want a little volume in that area (great for people who have rounder faces).

Clip away the top half of your hair to keep it away while you braid. (Or not, yolo. I ain't your mother, do what you want.)


Tip your head over and brush the hair up to help you get ready for the braid.

Begin the braid, going up towards the crown of you head. This, for me, was super difficult because my curls kept getting in the way and it was hard to take clean sections without looking at it. This is more do-able if your hair is straight or long because it'll stay the hell out of the way.
I AM NOT SO LUCKY.


Take out the top clip and put the whole thing in a pony-tail. I fluffed up my braid just a tiny bit because I like when my hair doesn't look glued down to my head.


I teased my pony for maximum volume.


 Now if you have medium length hair like I do, here's how to fake the bun. 
-Fan your pony out so hair is going everywhere.
-Grab a small (1 inch?) section and stick the ends in a bobby-pin (like in the first photo)
-Flip the ends under so they're going back towards the base of the pony. (photo 2)
-THEN SHOVE THE PIN INTO THE PONY BASE. BOOM. DONE.

And repeat all the way around to create the bun shape.

(If you have long hair, just make a messy bun by either doing a rope braid and then wrapping it into a bun, or teasing and pinning it down, or you can use one of those foam donuts.)


So here's the finished look. I usually pull a little at the hair not in a bun to give it a looser texture. (Fun fact: I have a small head for my body, so when my hair is slicked down it looks even smaller).


All in all, with the braid, I think this hairstyle was like 8-10 minutes. Without the braid, I think it's probably around 5 minutes because I pick at it when it's done- but I've done it in 3 minutes before.)


Time for some iced coffee in the sunshine,

-SamanthaK

100 Degree Hottie: Milk-Maid Braids

100 Degree Hottie: Milk-Maid Braids


The weather has actually taken a turn and it got a bit chilly for a few days, but it's now starting to spike back up in the 80's and 90's this week.

So for this first hairstyle- let me break it down:

-This is a hairstyle for medium to long hair
-Must know how to french braid
-Moderate difficulty (because at some point you have to change hand positions while braiding)
-You can totally wear this damp and release the braids for a wavy hairstyle at night.

So start with clean hair (either damp or dry). I opted for dry so I could get a really thick braid.

100 Degree Tip: If you use dry shampoo on clean hair right after you blowdry, you can prevent oil and actually get another day out of your hair.


Make a parting that's further over than you're used to. It creates a better volume at the start of your braid.
Start your braid with a pretty thick section, otherwise you have a few inches of a really tiny braid and it's not very flattering. I also opted for a 3-D braid, otherwise known as an underhand or Dutch braid. It makes the braid stand on top of the scalp and it makes a really cool effect. (Plus when you fluff it later, you still get the strong hold of a braid without getting pieces falling out).

This is kind of hard to show because I needed my other hand to take the picture but keep the braid close to your hairline, periodically stopping to fluff up your braid to make it a little thicker. You can do this by picking at the sides of the braid, or sticking your finger in the braid and lifting up from the scalp.


At some point (usually around the ears) you'll have to switch hand positions to get a better angle. I usually hold my sections really far apart from each other so I don't get lost when I switch hands. When you get to the center back of your head, braid the rest of your section as far as you can go and secure it with a rubber band.


 Go back through the braid and pick at the sides until you reach desired fluffiness. (A tip- pull the sides gently and slowly. You can always fluff more, but if you pull out a strand, it's hard as hell to put it back... unless you have a crochet hook I guess but who has those things lying around?!)

Repeat process on the other side- making sure to braid ALL the remaining hair. Secure with another elastic.

This was super difficult to get a picture of- but take one of the braids and create a loop, tucking the ends underneath the loop and secure with a couple bobby-pins. When you do the same to the other braid, try not to stack them on top of each other but make sure they are really close and touching to create the illusion of a messy bun.


So here's the back.


And the front.

Now you long haired gals can do the same style I did, or you can opt for something like this (this is a french braid version to show you guys the difference in looks).

(Note: This is a tiny bit more difficult as you'll change hand positions like 3 or 4 times).


 To finish your style like this:

Braid as before but instead of stopping at the center back, keep braiding completely around the hairline until there's no hair left to add in. Finish off the braid and secure with an elastic. (You should have a braided pony tail right over your eyes. You'll look crazy for a second, but I promise it comes together.)

Lay the braided tails of your hair behind the beginning of your french braid- tucking the ends under it. Secure with a few bobby pins so it doesn't slide out.


And that's it! Milk-maid style braids are really fun and they're great for being in the water, swim parks, sports- generally anything in hot weather because it keeps the hair away from your face and neck. 

(Just be sure to put sunscreen over your exposed neck and ears!)

-SamanthaK