You Too Can Do: A Basic Blow Dry
No seriously. You can do this.
So this post is dedicated to Sarah, one of my good friends who has the biggest poofiest hair I've dealt with other than my own. Her desire, want, and need is to know how to do a good (easy) blow dry that won't encourage frizz.
Now, while taking pictures for this post, I realized that I'm an idiot. IT TAKES 2 HANDS TO DO A BLOW DRY AND YOU NEED AT LEAST ONE TO TAKE PICTURES.
Most of this post is going to have to be explaining the blow dry as opposed to visual examples (sorry visual learners). Hopefully though this is helpful. When I have a camera that I can set with a timer, then we'll see some progress- but I'm poor, so, it's gonna be awhile.
So to start this off, lets talk product for a second. Blow drying is all great and dandy, and I could show you 800 different ways to do it, but half of the work is product.
If your hair is dry, fine, lightened, curly- basically anything like mine, here's the exact list I used.
Forever Blonde Shampoo (Cause my hair is lightened and damaged)
Forever Blonde Conditioner (Cause my hair is lightened and damaged)
Forever Blonde Reconstructive Treatment (Again, hyper damaged)
(FYI, the forever blonde series is not just for blondes, it's super great for dry, brittle, lightened, or damaged hair)
It's a 10 Leave in Treatment (as a heat protectant for the blow dry)
Awapuhi Hydrocream Whip (moisture and control)
Quick Slip (speed up my dry time)
If your hair is anything else, leave a comment in the section below and I will do my best to recommend something that would be better for you. Sarah, if you're reading this, you can pretty much use everything I did. You're welcome.
Step one: Blow dry the roots/bangs.
The fringe/bang area and around the crown are the usual suspects when it comes to cowlicks and splits. I don't know why that is. To banish them from your head, you have to blow dry to one side and then the other. Usually I start with my bangs since they dry IN LIKE 2 SECONDS and they turn ALL KINDS OF CURLY CRAZY. I use my fingers as a brush and kick them to the left, the right, up off my face and then back down. It encourages the roots to lift off my head so they don't slick down all stupid-like. I do not like flat bangs, I do not.
Then I go around the temples. For this, I lean to one side, letting gravity do it's job and I just hit it with the blow dryer. For those with short hair, you might want to use your fingers to weigh the ends down so it doesn't fly everywhere and get all weird up in there.
Step 2: Keep going with them roots.
When it comes to blow drying at home, I am so lazy. Normal hair will stretch as it dries, creating a really nice blow out. My hair stretches when it's already dry. I don't... I'm not sure why, I won't lie. I have no clue.
So basically instead of doing a predry and trying to figure out the back of my head by touch, I let gravity do the work.
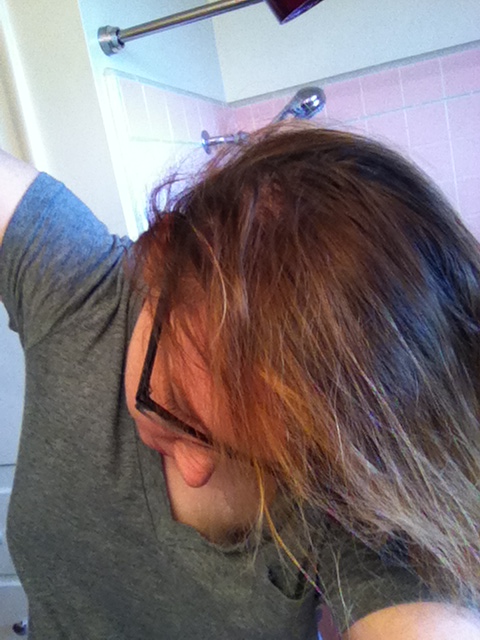
Flip your head over and let your hair drape over your head. Using your fingers as a brush, encourage the hair up and over your scalp. Doing this encourages the hair to be volumized at the roots, but because you're shaping it against a flat surface, like your head, it keeps the midshaft tamed down. You're welcome.
I flip my hair to the left, right, then I tip upside down, then right side up- just like the bangs. By making the hair go in all different directions, you're confusing the hell out of your cowlicks and they're like, "Forget this" and then they give you the peace out and they're gone.
You're welcome.
Step 3: The Rest.
Ok, so now your roots are dry all over and all you have left is the ends. Divide your hair into 3 sections- the bottom, the middle, and the top.
Taking subsections, use your brush like I'm showing in the picture and then point the blow dryer nozzle into the brush, but slightly downward towards your ends.
And brush/blow to your ends.
You're encouraging the hair to lay down flat and not letting it frizz. When you blow dry upwards against the hair, you're basically like, "Hey, you wanna be 8 times your normal size and be all tangly?" And your hair is like, "I guess I don't have the choice." Blow drying down with the hair is you saying, "This is where you're living now." And your hair is like, "I guess I don't have a choice."
Do the bottom section, then the middle, then the top.
You'll end up with something like this. Ignore my straw-like ends. I am due for a haircut and I've been putting it off for 3 weeks. Don't judge, I'm busy.
Then you're going to style accordingly. Because my hair stretches and behaves when it's already completely dry, I could go in with a round brush to smooth and bevel the ends. For normal people, you would go in with a round brush when your hair is still a little damp. For a smooth, non curly look, you could do the exact technique I showed with the paddle brush earlier and just keep laying down those ends. Mine don't look very nice because they need to be hacked off, and I also hate straight hair on myself. You guys know me, curls are kind of my jam.
So I went beachy. (For those curious, follow my easy and polished curling tutorial, but do not add hairspray. Use Awapuhi Styling oil and immediately brush through the curls while the hair is still warm/not totally set yet).
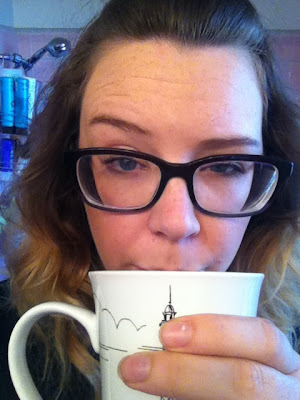
Sorry about that picture. I don't know why my eyebrows are up so high.
I hope this was helpful. Keep in mind, this is not the blow dry technique I use on my clients. For one, it's too hard to go that route on the back of my own head and obviously I'm not going to make my clients tip their head all over the place to do my style of blow drying. I don't think they'd pay me to do that.
-SamanthaK


